Manual Install WSL on Older Windows (WSL 2 Step-by-Step Guide)
bigsansar | Feb. 13, 2026
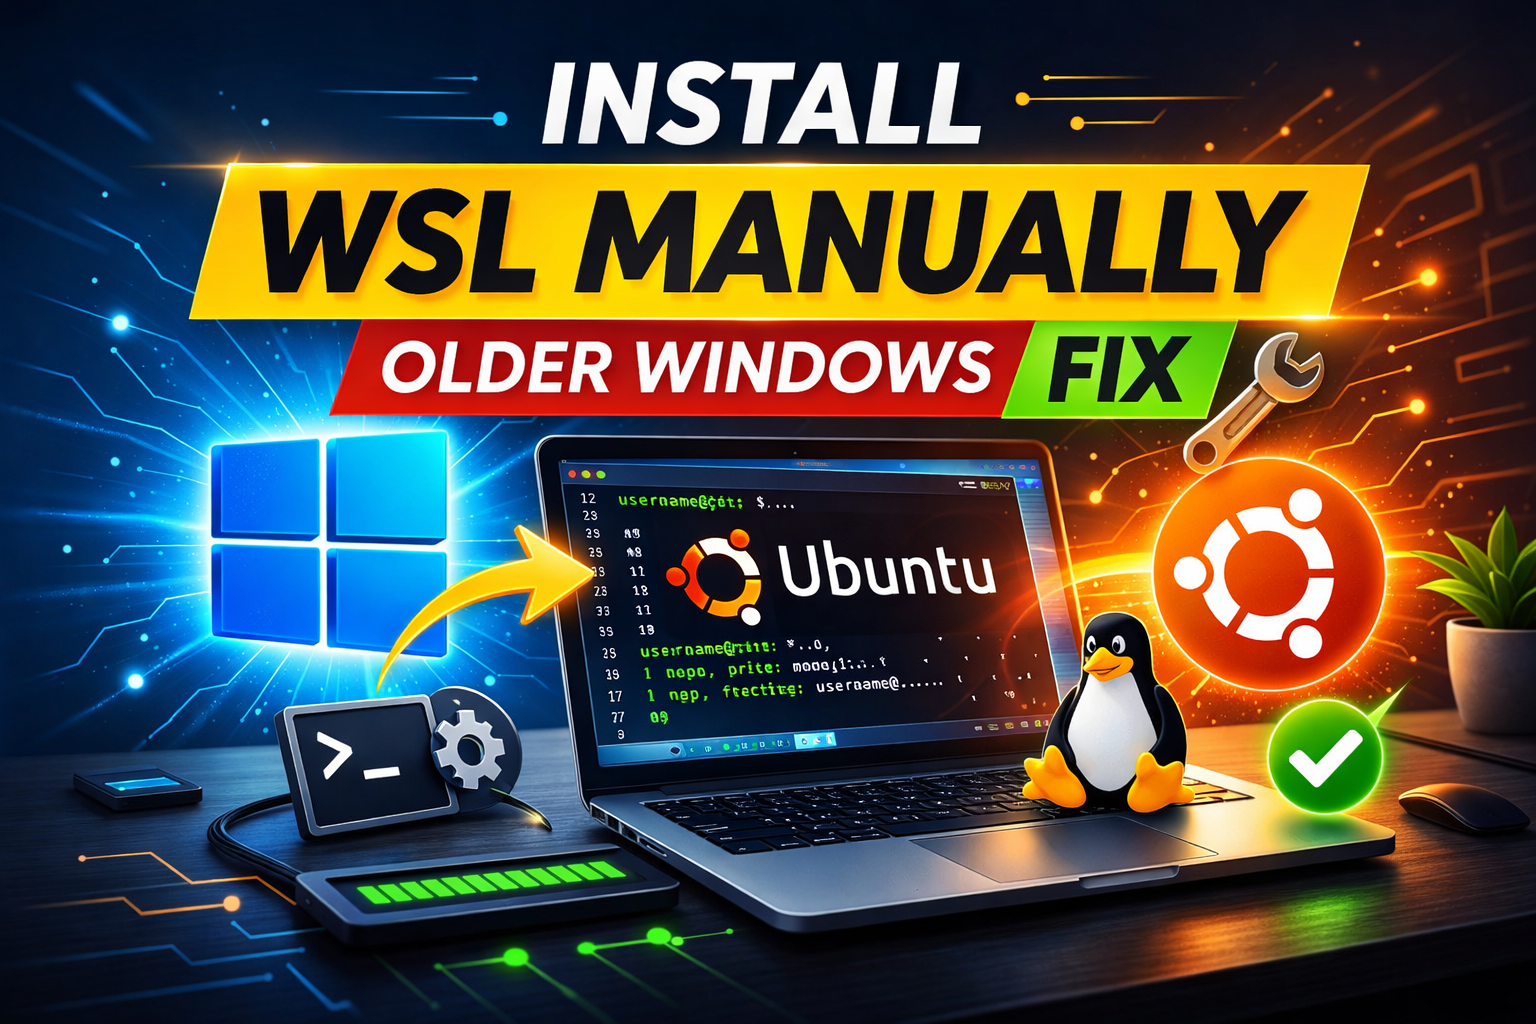
In recent years, Windows Subsystem for Linux (WSL) has become one of the most practical tools for developers, students, and tech enthusiasts who want the power of Linux without leaving Windows. Instead of setting up dual boot or running heavy virtual machines, WSL allows you to run Linux distributions like Ubuntu, Debian, and Kali directly inside Windows.
Most modern tutorials explain WSL installation with a single command:
wsl --install While this works perfectly on Windows 11 and newer Windows 10 builds, many users still run older Windows versions where this command is not available or fails with errors. In such cases, the only reliable option is to follow the official manual installation method.
This article explains the verified and correct steps to manually install WSL on older versions of Windows.
What is WSL?
WSL (Windows Subsystem for Linux) is a Windows feature that lets you run a Linux environment directly on Windows without needing a traditional virtual machine or dual boot.
With WSL, you can:
- Run Linux terminal commands
- Use Python, Git, Node.js, Django, etc.
- Install and run Linux distributions like Ubuntu and Debian
- Work with both Windows and Linux tools on the same machine
Why Manual Installation is Needed
Many users assume that “Install WSL” always means using wsl --install. However, manual installation becomes necessary when:
Your Windows version is older and does not support wsl --install.
Microsoft Store is disabled or not working.
WSL 2 fails to enable automatically.
Kernel updates do not install automatically on older builds.
Errors appear during installation, such as “Class not registered”.
If you fall into any of these categories, manual installation is the most reliable approach.
Manual Installation Steps (Older Windows Versions)
Step 1: Open PowerShell as Administrator
All commands must be run in Administrator mode.
Open:
Start Menu → Search “PowerShell” → Right-click → Run as Administrator
Step 2: Enable the WSL Feature
Run the following command:
dism.exe /online /enable-feature /featurename:Microsoft-Windows-Subsystem-Linux /all /norestartThis step is required for WSL to function at all.
Step 3: Enable the Virtual Machine Platform Feature
To use WSL 2, you must enable virtualization components:
dism.exe /online /enable-feature /featurename:VirtualMachinePlatform /all /norestartWithout this feature, WSL 2 will not work.
Step 4: Restart Your PC
Restarting is not optional.
Many WSL installation failures happen simply because users skip this restart.
Step 5: Install the WSL 2 Linux Kernel Update Package
On older Windows builds, the WSL 2 kernel update does not install automatically.
You must manually download and install the official WSL 2 Linux Kernel Update Package from Microsoft.
This is one of the most important steps for older systems.
Step 6: Set WSL 2 as the Default Version
After restart and kernel installation, run:
wsl --set-default-version 2 If this command succeeds, your system is ready to run WSL 2 distributions.
Step 7: Install a Linux Distribution
Once WSL is installed, you need a Linux distribution.
The easiest method is using Microsoft Store:
- Open Microsoft Store
- Search “Ubuntu”
- Click Install
If Microsoft Store is not available, distributions can be installed manually using .appx packages, but that method is advanced and not recommended for beginners.
Verify That WSL is Installed Correctly
To confirm the installation, run:
wsl -l -v This command lists installed distributions and shows whether they are running under WSL 1 or WSL 2.
A successful output might look like:
NAME STATE VERSION * Ubuntu Running 2 This confirms that Ubuntu is installed and running on WSL 2.
Common Error: “Class not registered”
Some users may see an error like this:
Class not registered Error code: Wsl/CallMsi/Install/REGDB_E_CLASSNOTREGThis usually happens when:
Windows is too outdated.
WSL components are incomplete or corrupted.
WSL kernel update package is missing.
Required Windows features were not properly enabled.
To fix it:
- Make sure both required features were enabled correctly
- Restart after enabling features
- Install the WSL 2 kernel update package
- Update Windows if possible
A Practical Example (What a Full Installation Looks Like)
If you want to install WSL manually, your PowerShell session should look like this:
dism.exe /online /enable-feature /featurename:Microsoft-Windows-Subsystem-Linux /all /norestart dism.exe /online /enable-feature /featurename:VirtualMachinePlatform /all /norestartRestart your PC, then run:
wsl --set-default-version 2 Install Ubuntu from Microsoft Store, and verify:
wsl -l -v If Ubuntu shows Version 2, your installation is complete.
What to Do After Installing WSL
Once WSL is working, you can use it for:
- Python development
- Django projects
- Node.js apps
- Git workflows
- Linux tools and commands
- Databases such as MySQL and PostgreSQL (advanced setups)
WSL is one of the most powerful features available for Windows users who want Linux functionality. However, older versions of Windows may not support the simplified wsl --install method.
That is why manual installation remains the most reliable approach for older systems. By enabling the correct Windows features, installing the WSL 2 kernel update package, and setting WSL 2 as default, you can successfully install WSL and run Linux distributions like Ubuntu smoothly.
0 COMMENTS:
Microsoft Windows 11 Emergency Update: Major Issues Fixed for Users
Microsoft has released an emergency update for Windows 11 to fix major issues including crashes, pe…

Microsoft Unifies Copilot Team | Satya Nadella’s ‘My Apps’ AI Vision
Microsoft is consolidating Copilot under one team to create seamless AI-powered experiences. Explor…
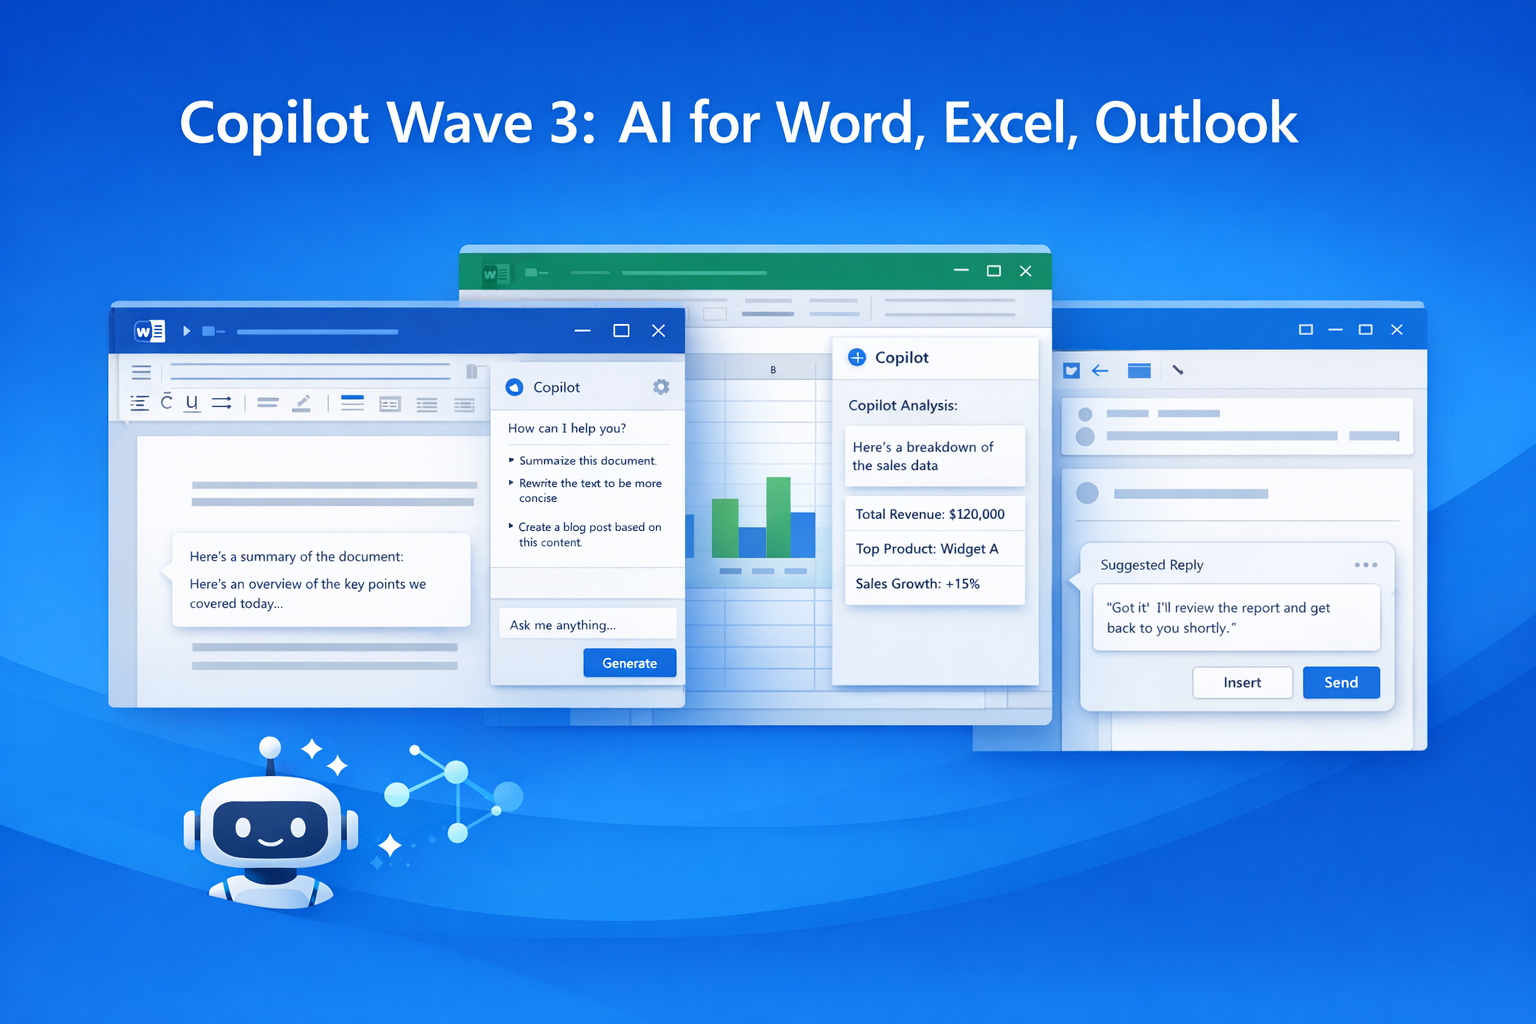
Microsoft 365 Copilot Wave 3: New AI Features for Word & Excel
Discover Microsoft 365 Copilot Wave 3 with agentic AI for Word, Excel, and Outlook. Automate tasks,…

Microsoft Confirms Project Helix: Next-Gen Xbox Details
Microsoft confirms Project Helix, the next-generation Xbox console. Here’s what we know about featu…

Create Windows 10 Bootable USB in Ubuntu (No WoeUSB)
Learn how to create a Windows 10 bootable USB in Ubuntu without WoeUSB. Step-by-step guide using NT…
Manual Install WSL on Older Windows (WSL 2 Step-by-Step Guide)
Learn how to install WSL manually on older Windows versions. Step-by-step guide to enable WSL, inst…
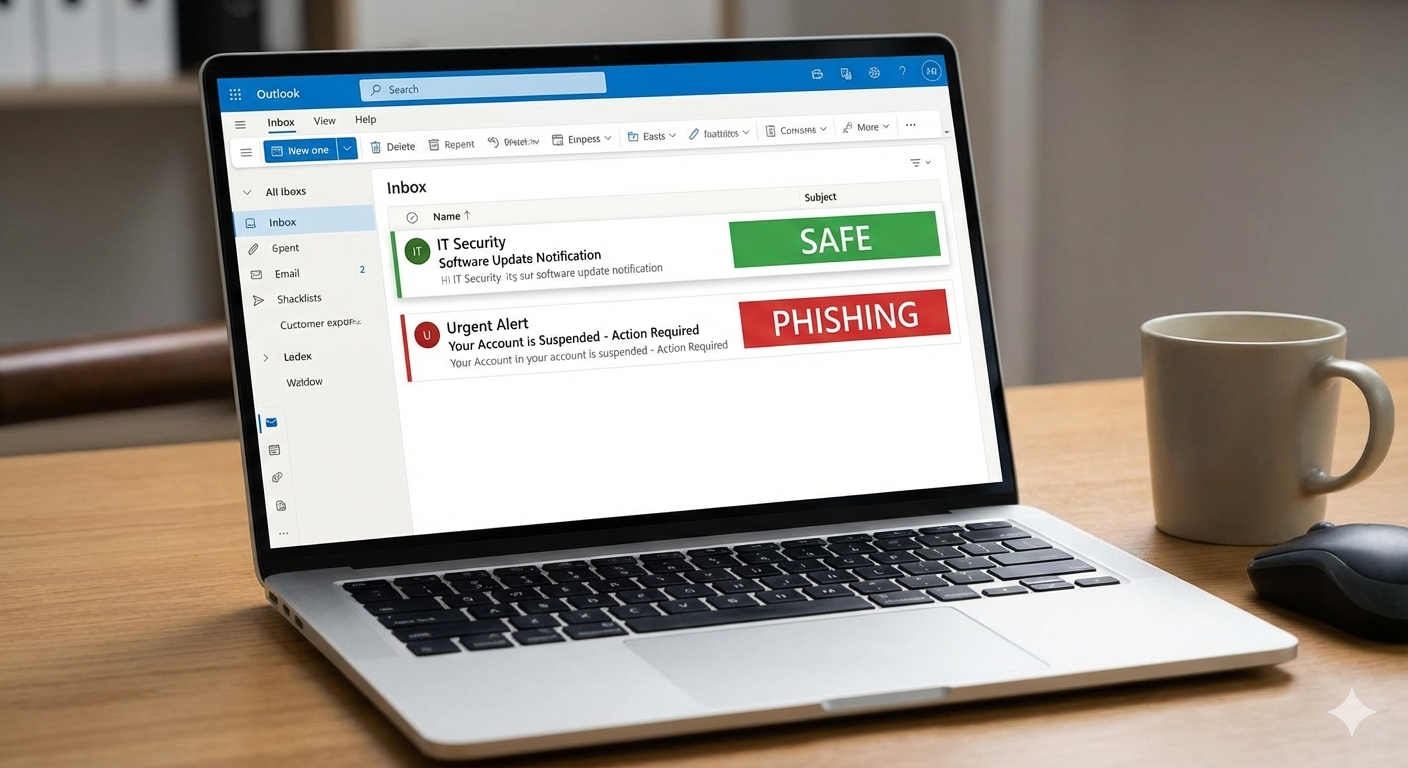
Microsoft Exchange Online Bug: Legit Emails Marked as Phishing Explained
Microsoft Exchange Online recently flagged legitimate emails as phishing, causing false positives a…

Microsoft Windows 11 Emergency Update Fixes Outlook Crash Bug
Microsoft has released a second emergency Windows 11 update to fix a critical Outlook crash bug cau…
Microsoft 365 Down for Thousands of Users | Downdetector Report
Microsoft 365 faced a major outage on January 22, 2026, affecting thousands of users worldwide. Dow…
Microsoft Windows 11 Emergency Update 2026: Shutdown Bug Explained
Microsoft’s first Windows 11 update of 2026 caused shutdown and hibernate failures on some PCs. Lea…